Operations Manual
How to install Crossbeam
- 1. In your browser visit https://www.netohq.com/add-ons/crossbeam.
- 2. Click Install Add-on.
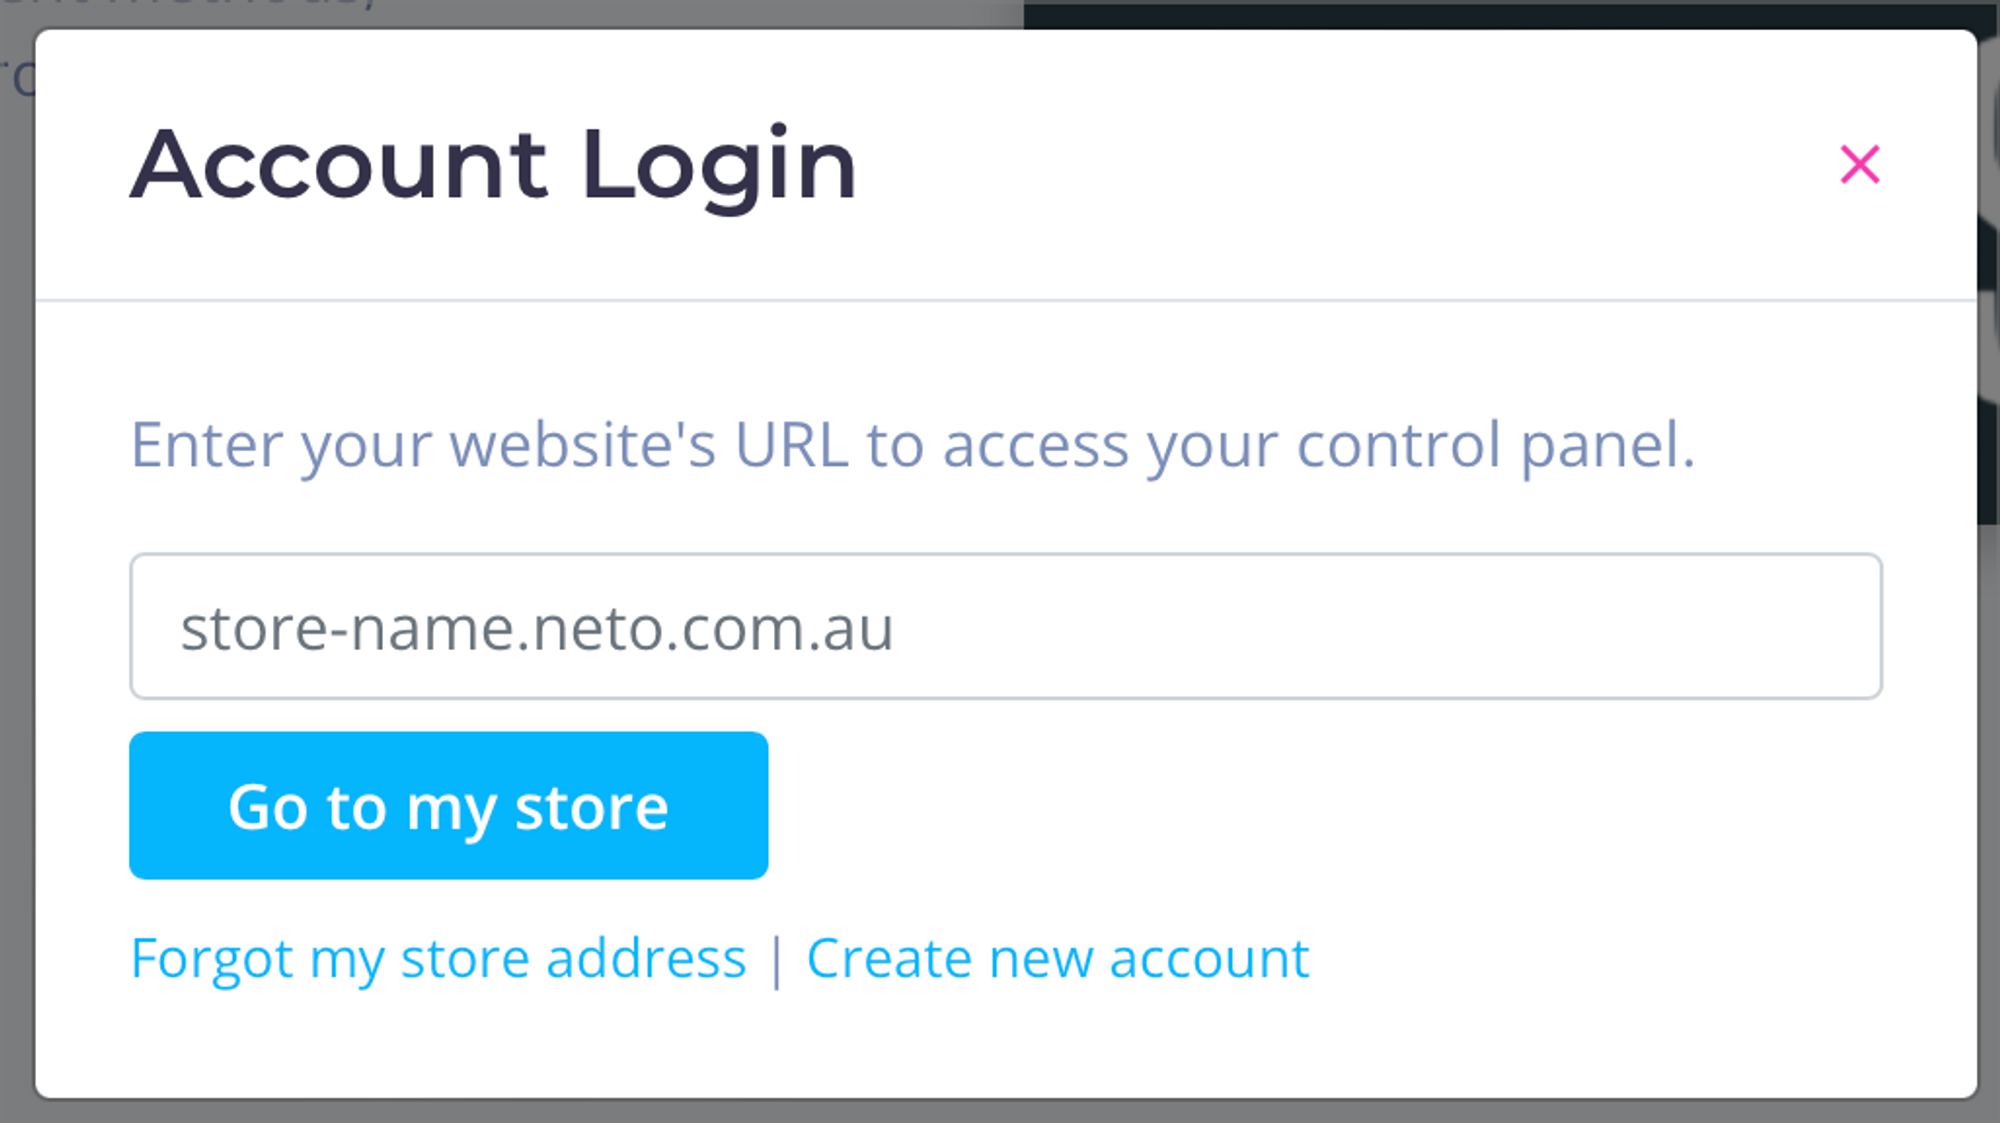
- 3. Login to your store control panel to continue the install process.
- 4. From the addons directory click Accounting.
- 5. Find the Crossbeam listing and click Install
- To post your payouts to Xero you first need to connect Crossbeam to your Xero account.
- Video: Connect Crossbeam to Xero
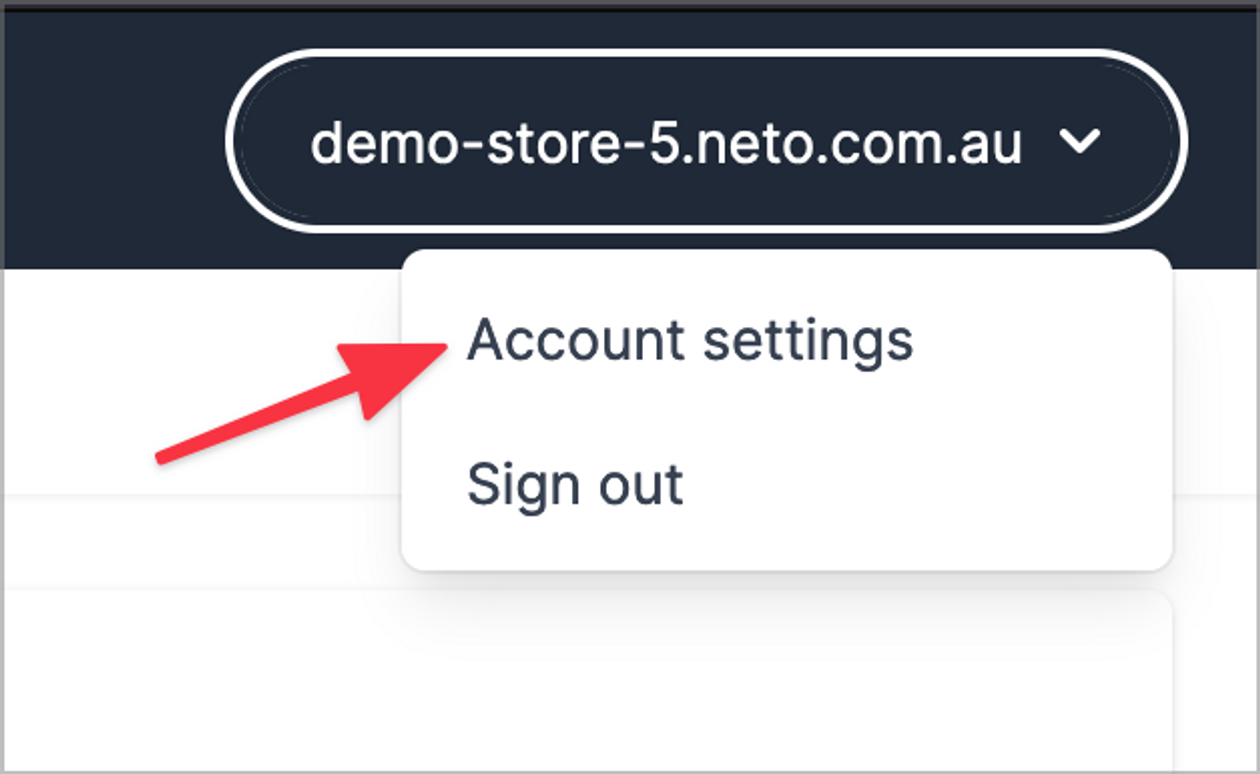
- 1. From the Account Menu choose Account settings.
- 2. Choose Connect to Xero.
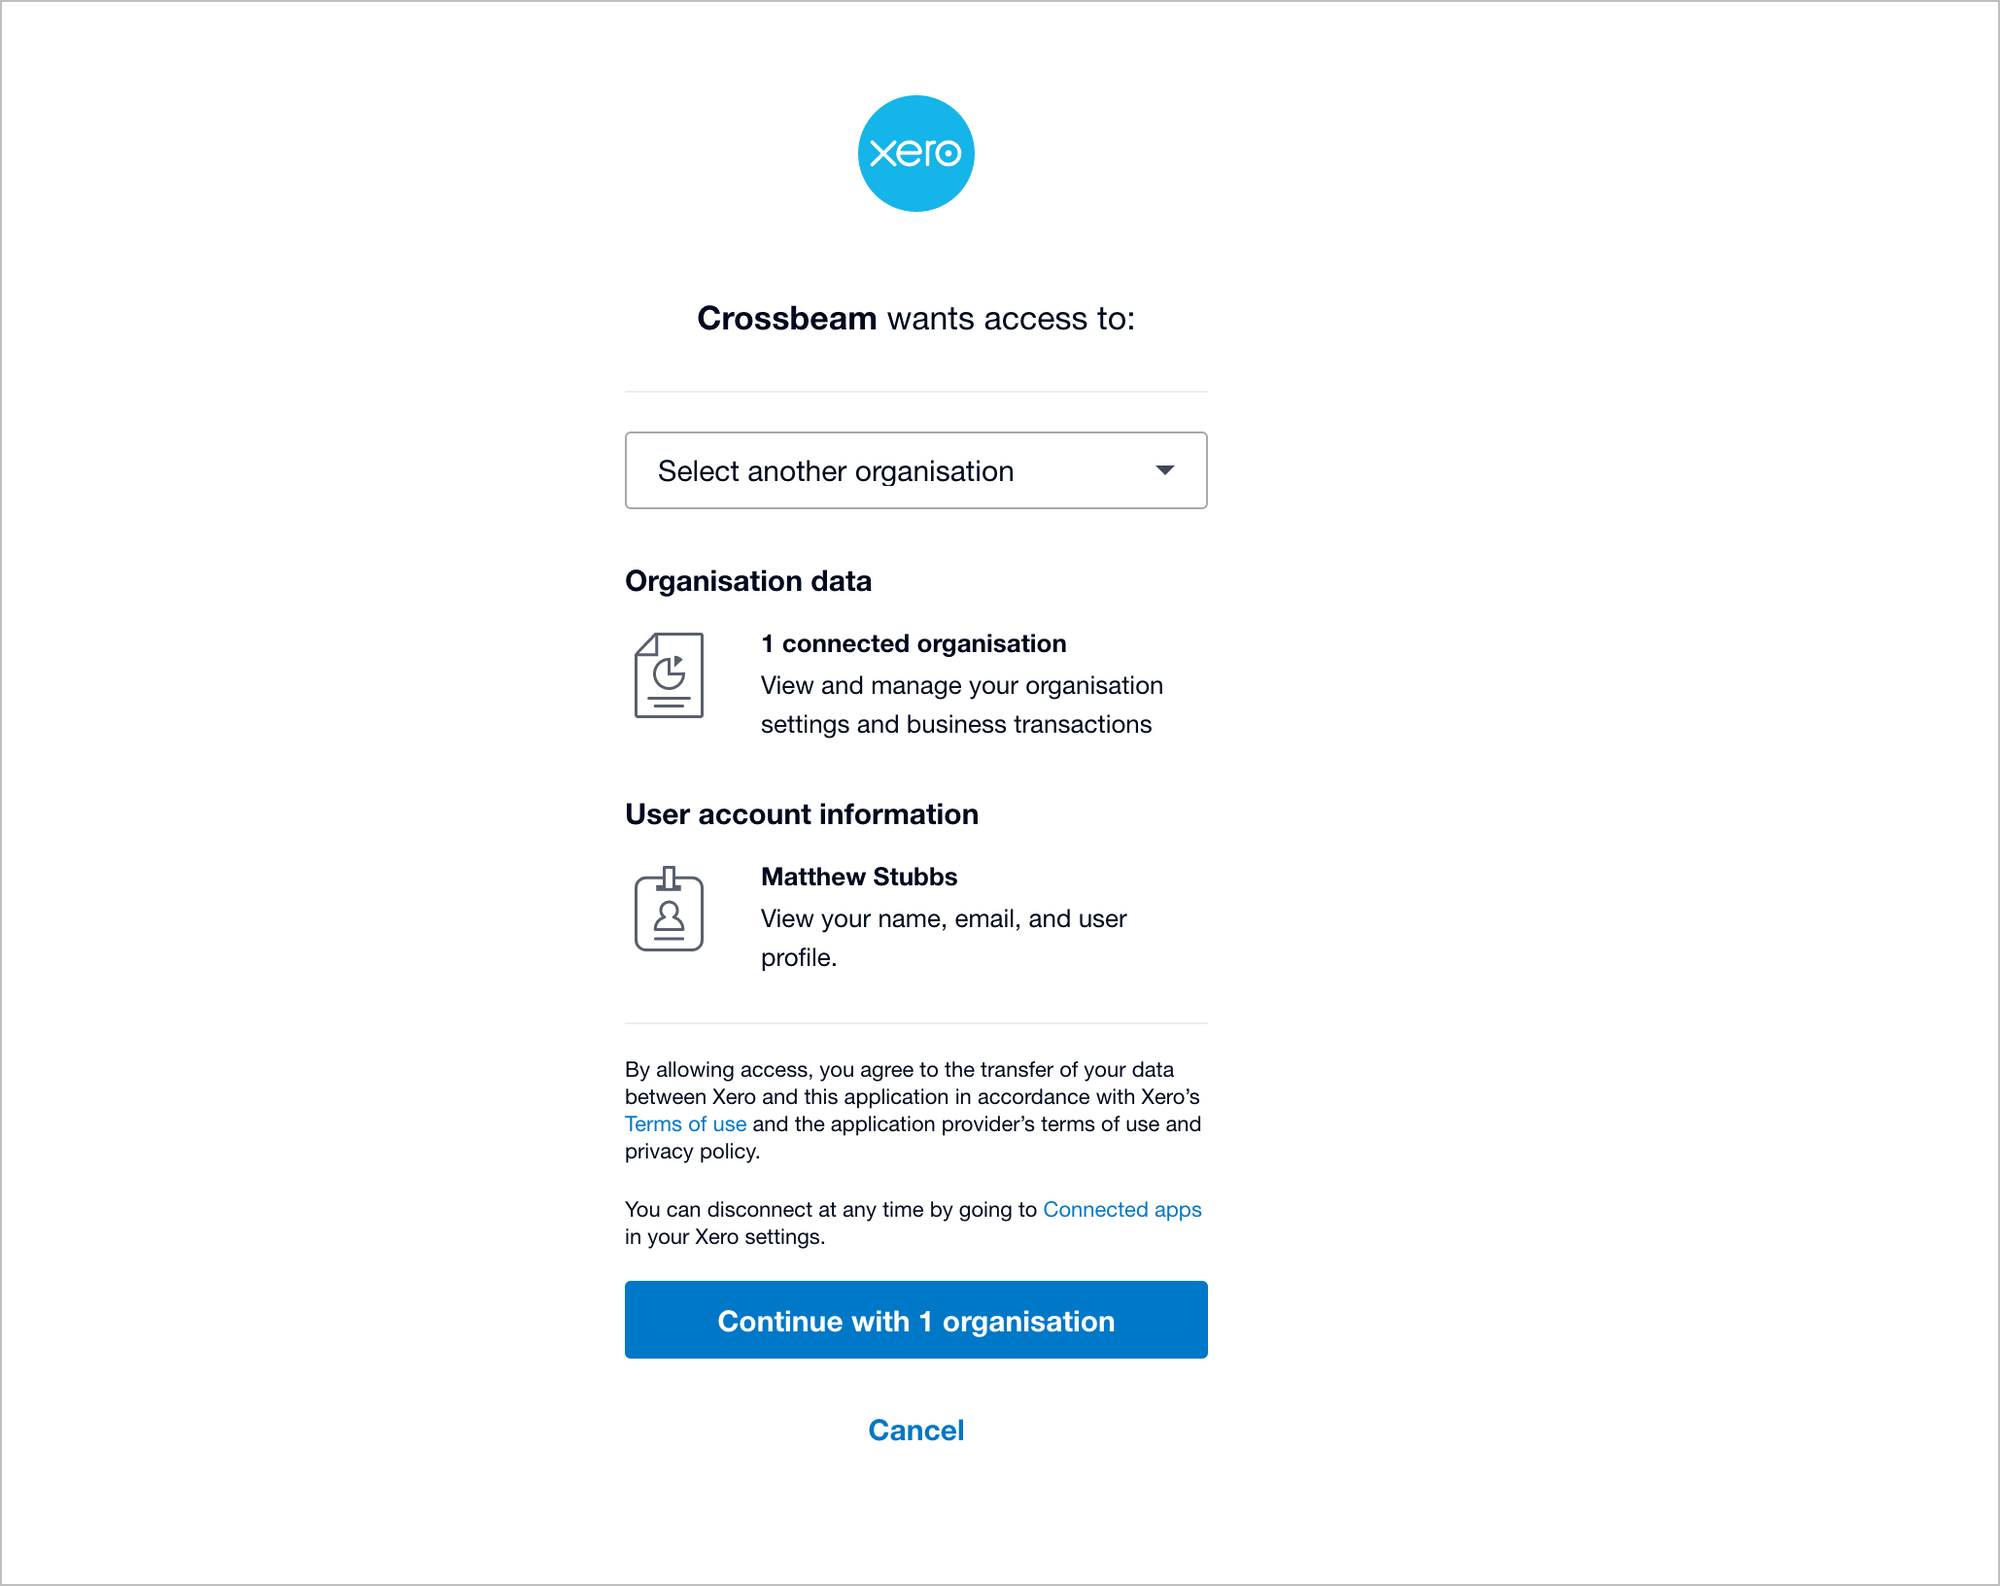
- 3. You will be prompted to sign in to your Xero account. Then select your Xero organisation from the dropdown and choose Continue.
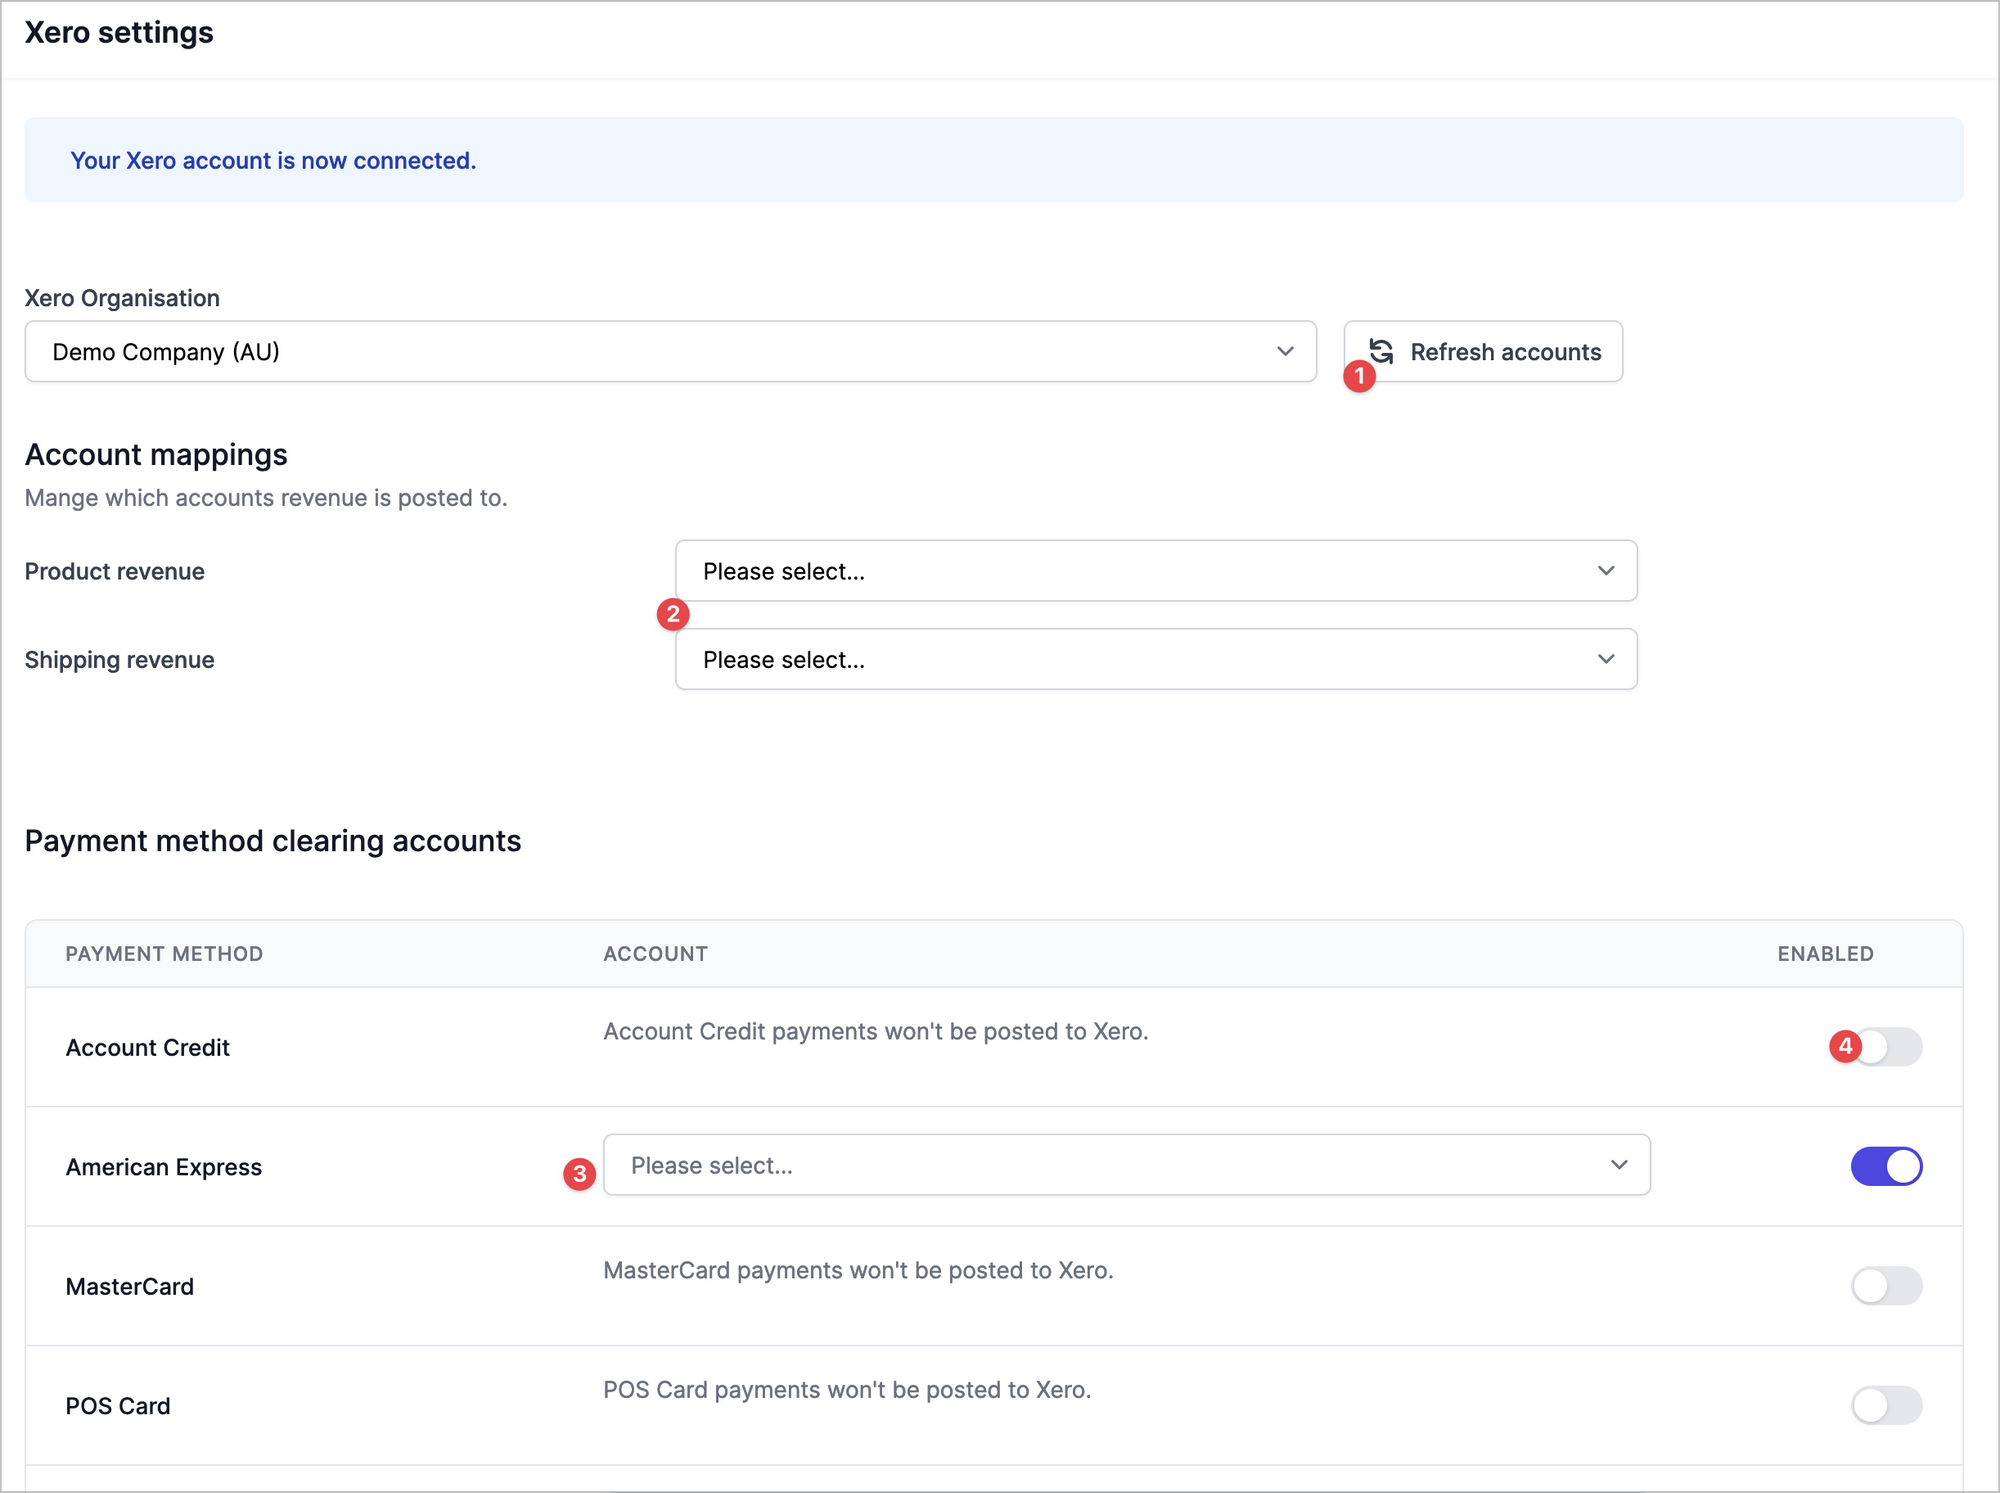
- 4. You can now configure your Xero account connection.
- TIP: If the account dropdowns are empty or missing recently added accounts click Refresh accounts
- - (1) For Product and Shipping revenue choose accounts your revenue should be posted to.
- - (2) For each payment method, choose a clearing account to post the payment balance to.
- - (3) You can choose to disable a payment method if you don’t want it imported into Crossbeam.
- - (4) Once you’re done hit Save.
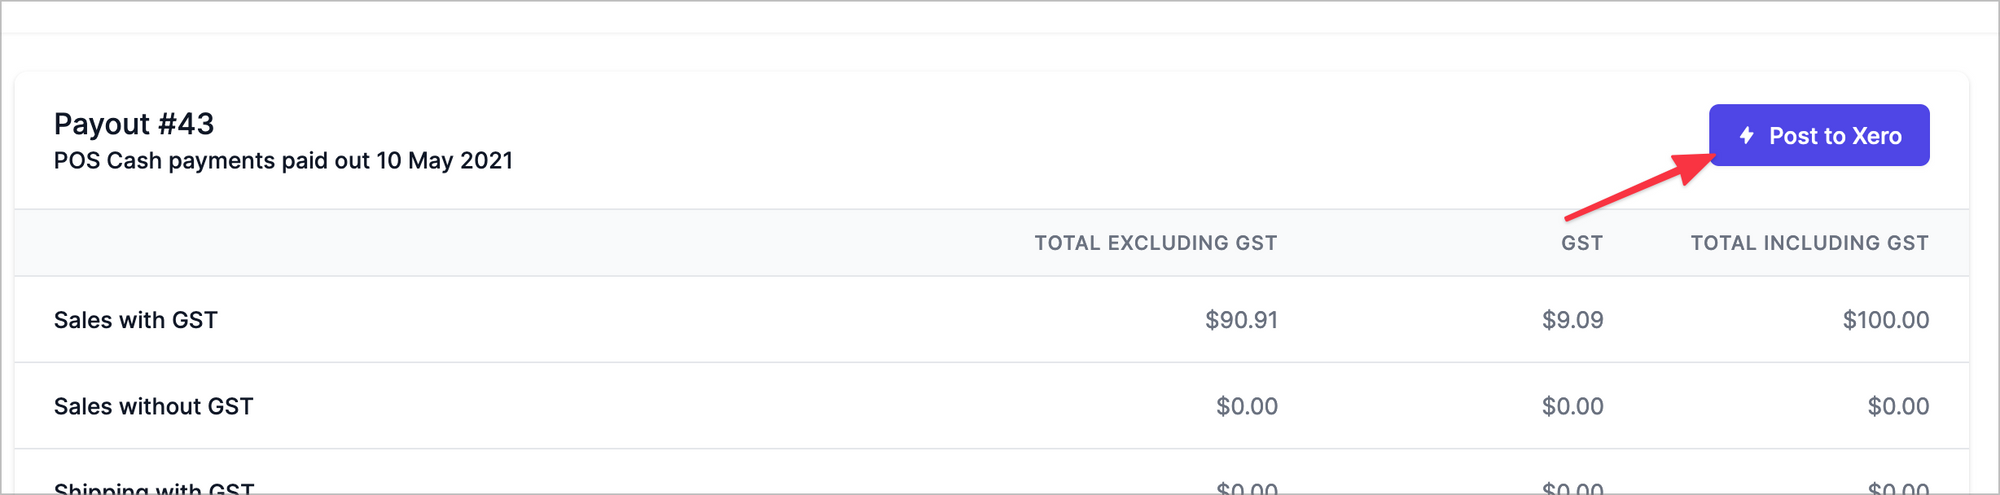
- 5. From your dashboard choose a payout period and hit Post to Xero.
- Posting invoices automatically
- Crossbeam can post payouts as invoices (or credit notes) automatically. When enabled this feature will run nightly and post any available payouts to your Xero account. This feature is off by default but can enabled from your account settings. For automatic posting to run you must have connected your Xero account and mapped revenue accounts.
- To enable automatic posting
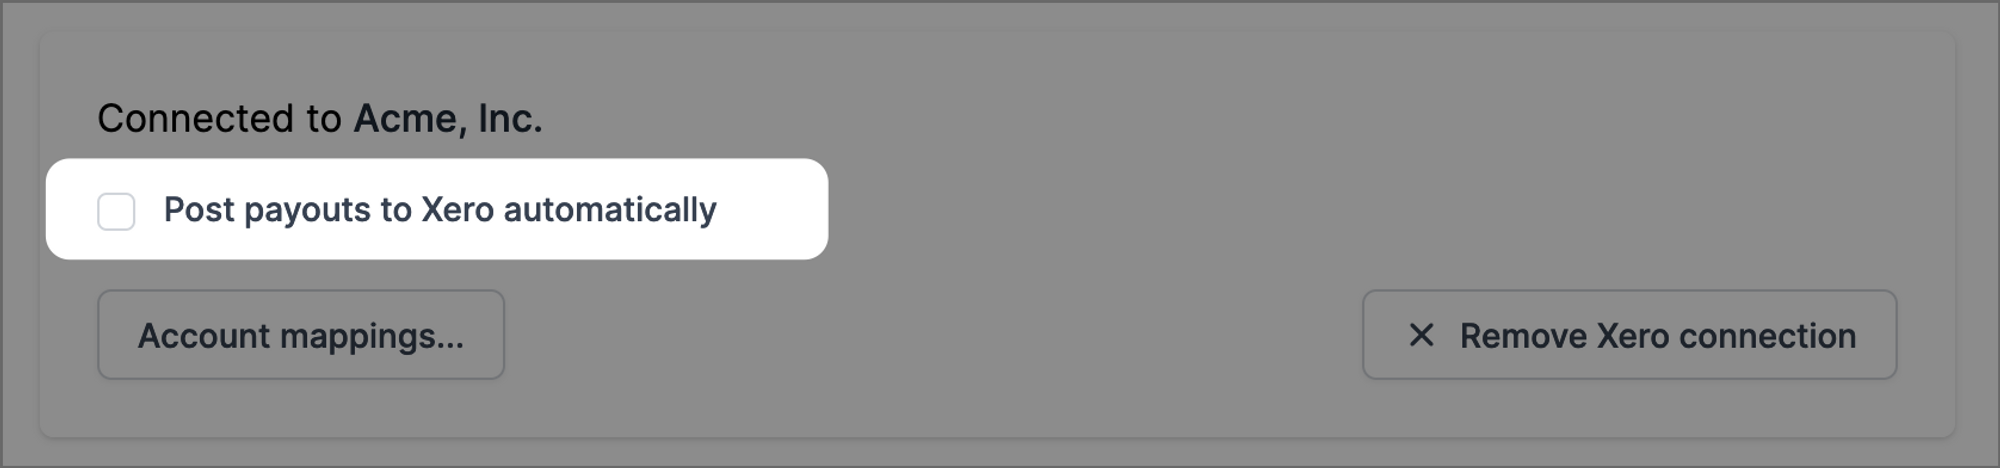
- 1. Choose [Account settings](https://app.crossbeam.app/account) from the top navigation bar.
- 2. From the Xero connection section tap the checkbox to enable auto posting. (If you have not setup a Xero connection the checkbox will not appear.)
- Once enabled automatic posting will run the following day.
- Only payouts dated after auto posting is enabled will be posted.
- To prevent duplicate or large volumes of invoices being created right after automatic posting is enabled only payouts dated after enabling will be automatically posted.
- For example, if you enable auto posting on May 23rd, payouts ending on May 23 and later will be posted. A payout for the period May 22nd will not be posted automatically (but can still be posted manually).
- When a Xero account mapped in Crossbeam is archived or removed from in Xero Crossbeam will not be able to post an invoice.
- To fix this you can either unarchive the account or update your account mappings to use a different account.
- To unarchive an account
- 1. Log in to your Xero account
- 2. From the top menu select Accounting, then Chart of accounts.
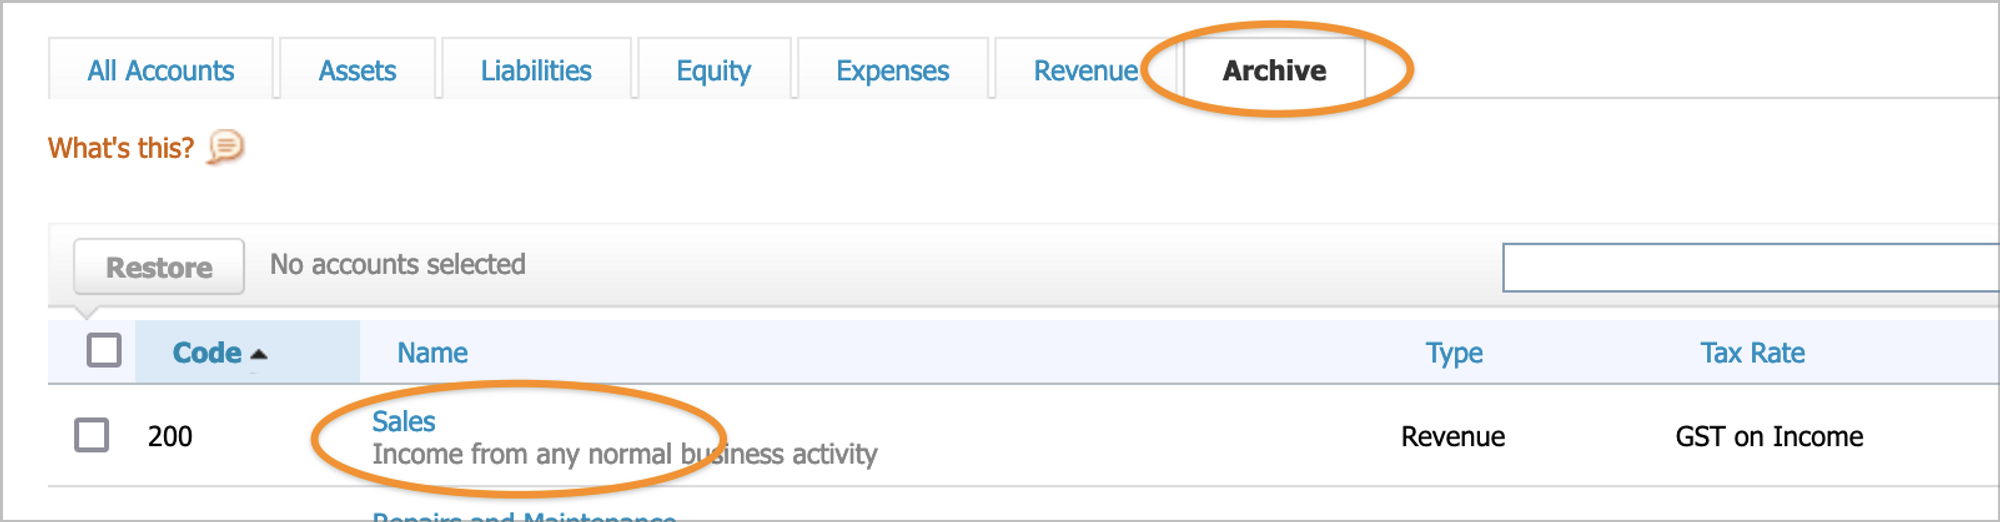
- 3. Click the Archive** tab to show archived accounts.
- 4. Click on the archived account
- 1. Click Restore to unarchive the account.
- To map a different account
- 1. In Crossbeam, click Account settings from the top menu
- 2. Click Account mappings
- 3. Find the mapping that is using the archived account and change it to another account.
- 4. Click Save
- Contact has been archived in Xero
- Archiving the “Commerce Cloud Sales” contact in Xero will prevent Crossbeam from posting an invoice to Xero.
- To fix this unarchive the contact in Xero.
- Unarchive a contact
- 1. Log in to your Xero account
- 2. From the top menu select Contacts, then All contacts
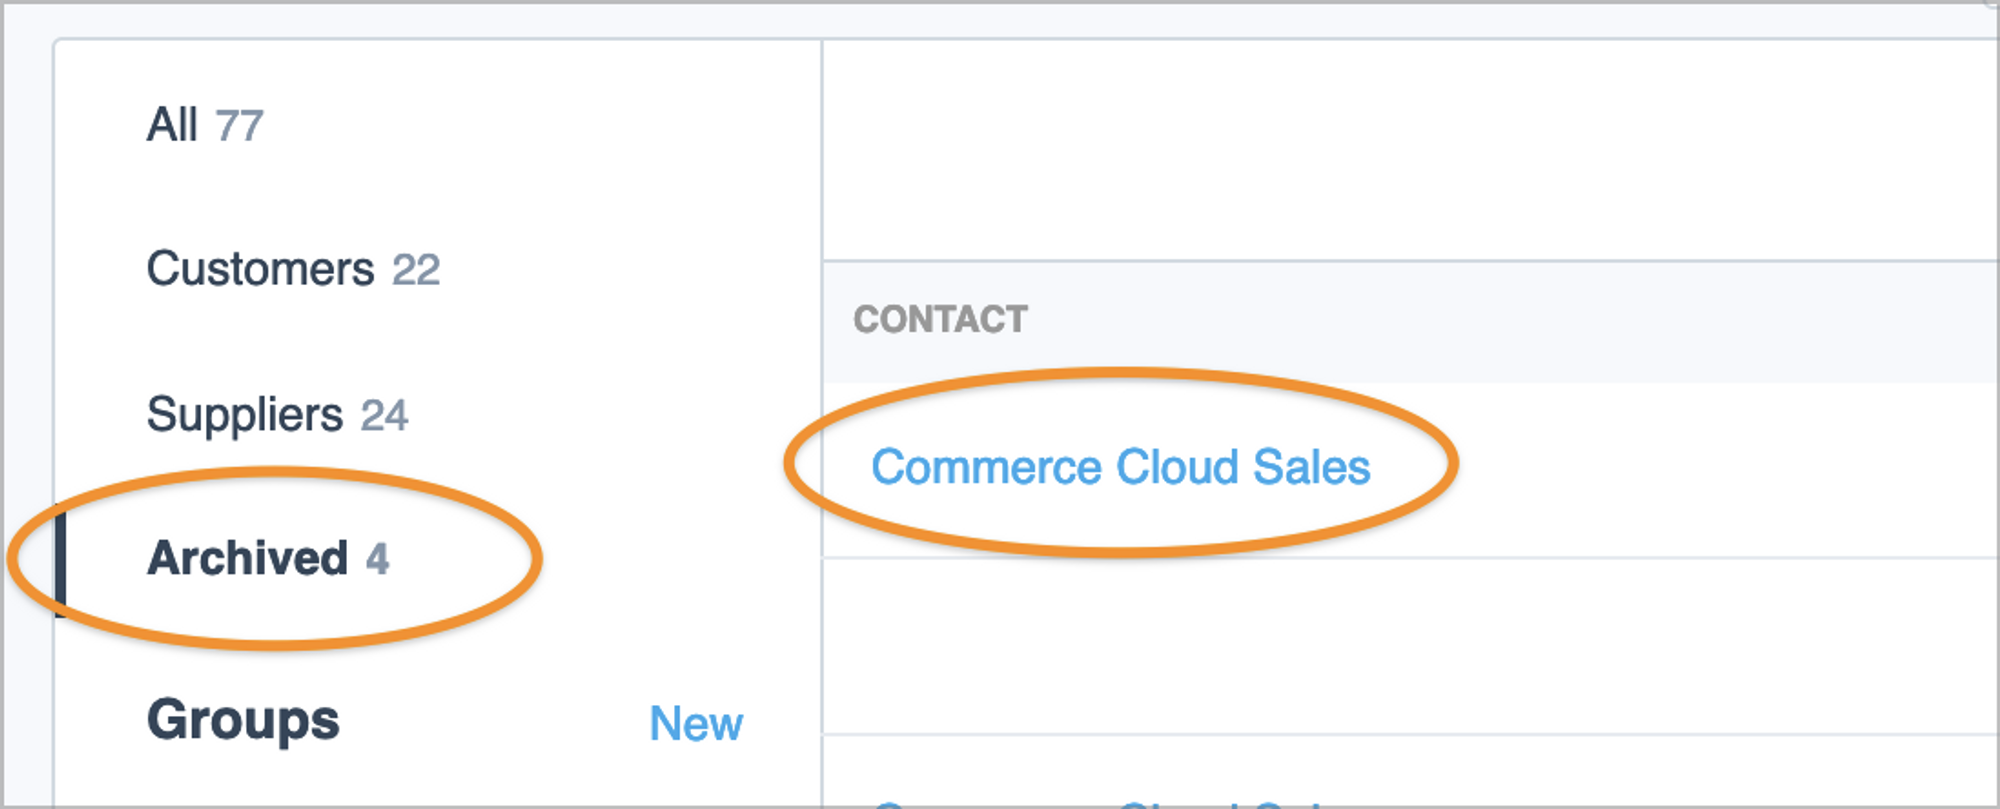
- 3. Filter the contacts list by choosing Archived from the options on the left.
- 4. Locate the “Commerce Cloud Sales” contact and click it.
- 5. Click Restore to unarchive the contact.
How to Connect Crossbeam to Xero
How to Post an invoice to Xero
Solutions to Xero connection issues
Account has been archived in Xero